How to Check Your Camera Before a Meeting on Windows (2026)
You join a video call and discover your camera isn't working, you're dark on screen, or there's an embarrassing background visible. That scramble to fix everything while your colleagues wait is avoidable.
This guide covers multiple methods to check your camera before meetings on Windows, from built-in tools to automated solutions that remove pre-meeting checks from your to-do list.
Why You Should Always Check Your Camera Before Meetings
A pre-meeting camera check does more than confirm your video works:
- Professionalism: Starting a meeting with technical difficulties wastes everyone's time
- Lighting issues: You might be well-framed but so dark nobody can see you
- Background problems: That pile of laundry or messy kitchen might be visible without you realizing it
- Camera selection: Windows devices often have multiple cameras (built-in, external USB, etc.) and the wrong one might be active
- Privacy concerns: Confirming what's visible before joining prevents embarrassing moments
- Audio sync: While checking video, you can verify your microphone is working too
A 2025 survey of remote workers found 68% had joined at least one meeting with an unexpected camera issue. A quick pre-meeting check prevents all of them.
Method 1: Windows Camera App (Basic but Reliable)
Windows 11 and Windows 10 include a built-in Camera app. It's basic, but it's always available and requires no installation.
1Press the Windows key and type "Camera" to open the Camera app
2Click the Camera app from the search results
3Your webcam activates and shows a live preview
4Check your framing, lighting, and background
5If you have multiple cameras, click the "Change camera" button (camera icon with arrows) in the top-right to switch between them
Pros: Always available, no setup required, quick to open
Cons: Doesn't test your actual meeting software, no microphone preview, requires manual opening before each meeting
Pro Tip: The Windows Camera app shows you exactly what Windows "sees" from your camera. If it doesn't work here, it won't work in Zoom, Teams, or any other application either. This makes it perfect for hardware troubleshooting.
Method 2: Video Platform Test Features
Most video conferencing platforms offer built-in camera and audio tests. These show you how you'll appear in the actual meeting, which the Windows Camera app can't do.
Zoom Camera Test
Zoom has a pre-meeting test that checks camera, microphone, and speakers:
- Open the Zoom desktop app
- Click your profile picture in the top-right
- Select "Settings" from the dropdown
- Click "Video" in the left sidebar
- Your camera preview appears
- Test different virtual backgrounds, lighting adjustments, and touch up settings
For audio, switch to the "Audio" tab and click "Test Speaker" and "Test Mic."
Microsoft Teams Test Call
Teams offers a dedicated test call feature that simulates joining a real meeting:
- Open Microsoft Teams
- Click your profile picture
- Select "Settings" > "Devices"
- Under Camera, you'll see a live preview
- Click "Make a test call" to join an automated test meeting
- The test call records a short message and plays it back to verify camera and audio
Google Meet Preview
Google Meet shows a preview before you join any meeting:
- Open any Google Meet link or start a new meeting
- Before clicking "Join," you'll see a preview screen
- Check your camera, microphone levels, and background
- Use the settings gear icon to switch cameras or adjust audio devices
- Apply background blur or custom backgrounds before joining
Pros: Tests in your actual meeting environment, shows platform-specific features like backgrounds
Cons: Requires opening the specific app before each meeting, different process for each platform
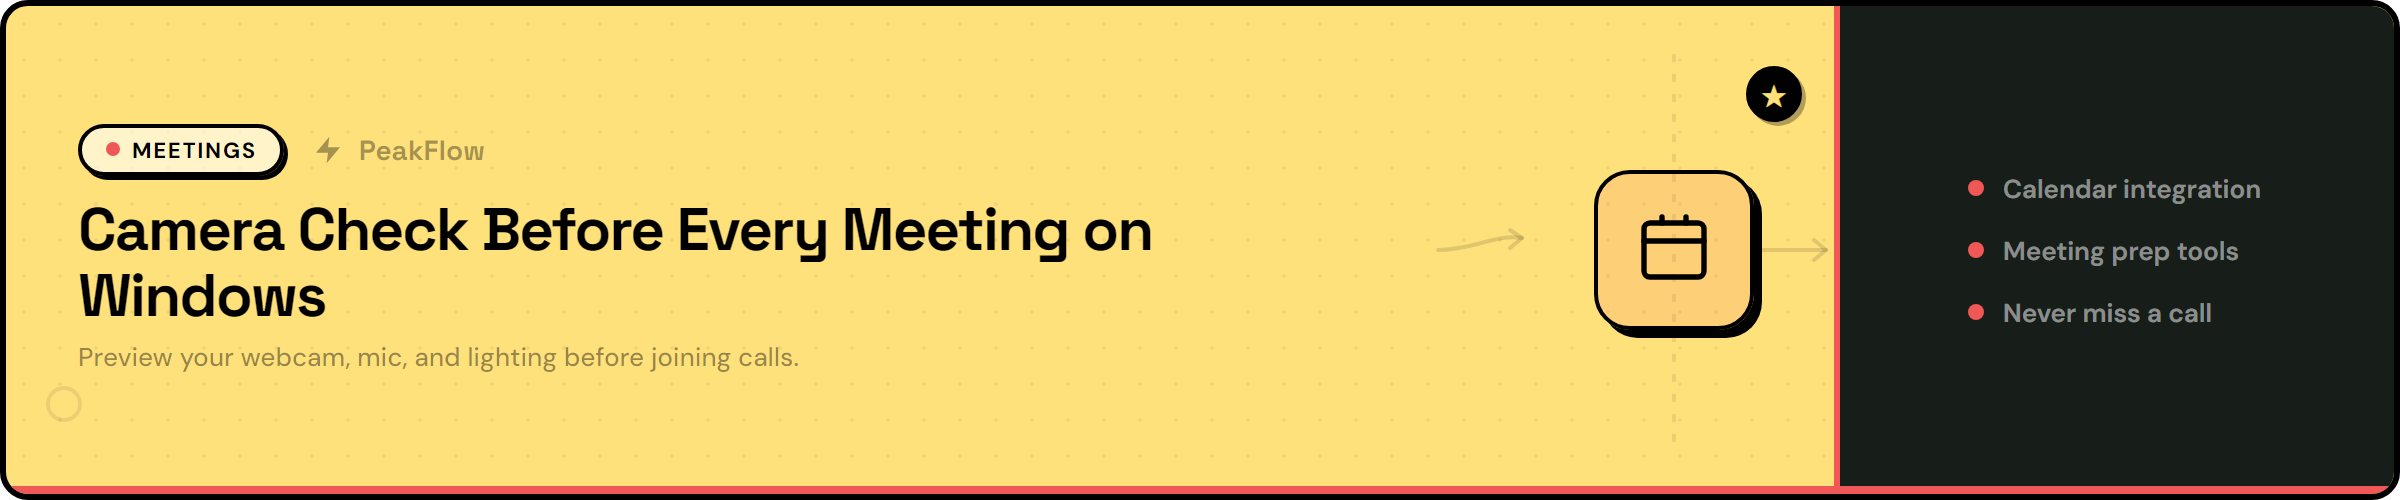
Method 3: MeetReady - Automatic Camera Check (The Best Way)
Manual camera checks work, but they rely on you remembering to do them before every meeting. MeetReady removes that step.
MeetReady pops up a camera preview window before your scheduled calendar events. It's a smart mirror that appears when you need it.
How MeetReady's Auto Camera Check Works
MeetReady connects to your Google Calendar and monitors upcoming meetings:
- MeetReady runs in your system tray
- 5 minutes before any calendar event (configurable), a notification appears
- Click the notification and a camera preview window opens
- Check your appearance, lighting, and background
- See your microphone input levels in real-time
- One click joins the meeting with verified camera and audio
You never forget to check your camera. It becomes part of your pre-meeting routine without extra effort.
Never Join a Meeting Unprepared Again
MeetReady shows your camera preview before calendar events. Check your appearance, verify audio, and join in one click.
Download MeetReady FreeSetting Up MeetReady Camera Alerts
Setup takes a few minutes:
1Download MeetReady and run the installer
2Launch MeetReady and click "Connect Google Calendar"
3Authorize calendar access (MeetReady only reads event times and titles, never content)
4Configure your preferred alert timing (default is 5 minutes before events)
5Enable camera preview in notifications settings
6MeetReady now runs at Windows startup
From here, you'll get Google Calendar notifications on Windows with a built-in camera check. No more manual testing.
Checking Lighting and Background
A working camera is only half the equation. How you appear on camera matters too.
Lighting Essentials
- Face the light source: Position yourself facing a window or lamp, not with light behind you
- Avoid harsh overhead lighting: This creates unflattering shadows under your eyes and nose
- Test at different times: Natural light changes throughout the day; what works at 9 AM might not work at 4 PM
- Use the "hand test": Hold your hand in front of your face. If you can see clear details, the lighting is good
- Consider a desk lamp: A simple adjustable lamp makes a big difference
Background Considerations
- Minimize distractions: Busy backgrounds pull attention away from you
- Check the full frame: Step back to see everything your camera captures
- Look for embarrassing items: That beer bottle or messy bed might be visible at the edge
- Consider virtual backgrounds: Most platforms offer background blur or replacement if your physical space isn't ideal
- Test movement: Virtual backgrounds often glitch when you move; check for artifacts
Common Mistake: Many people check their camera straight-on but forget to test how they look when leaning back or reaching for something. Move around during your test to verify the frame works for all positions.
Microphone Level Check
Your camera might work fine, but if nobody can hear you, the meeting stalls. Verify audio alongside video:
- Check input levels: Most apps show a green bar that responds to your voice. Speak at normal volume and verify it moves
- Eliminate background noise: Listen for fans, traffic, or other sounds that might be distracting
- Test your microphone selection: Windows often defaults to the wrong mic (built-in laptop vs. headset)
- Verify speaker output: Make sure you can hear other participants
- Consider using headphones: This prevents echo and ensures clear two-way communication
MeetReady's preview window includes real-time microphone level monitoring, so you can verify both camera and audio at once instead of testing each in Windows settings.
How MeetReady Auto-Pops Before Calendar Events
Here's how the automation works under the hood:
Calendar Sync: MeetReady syncs with your Google Calendar every few minutes. It identifies meetings by looking for video conference links (Zoom, Teams, Meet, etc.) in the event details.
Configurable Lead Time: Alerts appear 5 minutes before meetings by default. You can adjust this to 2, 10, or 15 minutes.
Desktop Notifications: The alert appears as a native Windows notification with a camera icon. Click to open the preview window, or dismiss it if you're ready.
Always-On: MeetReady runs in your system tray using minimal resources. You never need to launch it yourself.
Works With All Platforms: Zoom, Teams, Google Meet, Webex -- MeetReady's camera check works the same way regardless of platform.
This matters most for people with back-to-back meetings. If you join 5-6 video calls per day, checking your camera before each one gets tedious. MeetReady handles it for you.
Power User Tip: Combine MeetReady with full-screen meeting alerts to never miss a calendar event, even during focused work. The notification breaks through full-screen apps.
Setting Up Google Calendar Integration
MeetReady's automatic camera check needs access to your Google Calendar. Here's the setup process and what permissions are required:
Authorization Process
- When you first launch MeetReady, you'll see a "Connect Google Calendar" button
- Clicking it opens your browser to Google's OAuth consent screen
- Select the Google account that has your work calendar
- Review the permissions MeetReady requests (read-only calendar access)
- Click "Allow" to authorize the connection
- You're redirected back to MeetReady, which confirms the successful connection
What MeetReady Can See
Here's what data MeetReady accesses:
- Event start and end times: To know when to show alerts
- Event titles: Displayed in the notification so you know which meeting is starting
- Video conference links: To detect which meetings need camera checks and provide join buttons
MeetReady does NOT access event descriptions, attendee lists, or any other calendar data. It uses the minimum permissions needed.
You can revoke access anytime through your Google Account permissions page. This stops all calendar integration.
For more on calendar notifications, see our guide to Google Calendar notifications for Windows.
Quick Troubleshooting: Camera Not Working on Windows
If your camera doesn't appear in any of the methods above, work through these steps:
1. Check Physical Connections
- If using an external webcam, check that the USB cable is firmly connected
- Try a different USB port (preferably USB 3.0 for better performance)
- Look for a physical privacy shutter on the camera that might be closed
- Some laptops have a keyboard shortcut to disable the camera (often Fn + F8 or similar)
2. Verify Windows Camera Permissions
- Press Windows + I to open Settings
- Navigate to Privacy & Security > Camera
- Ensure "Camera access" is turned ON
- Scroll down and enable camera access for specific apps (Camera, Zoom, Teams, etc.)
- Also check "Let desktop apps access your camera" is enabled
3. Update or Reinstall Camera Drivers
- Press Windows + X and select Device Manager
- Expand "Cameras" or "Imaging devices"
- Right-click your camera and select "Update driver"
- Choose "Search automatically for drivers"
- If that doesn't work, try "Uninstall device" then restart your PC to reinstall
4. Check for App Conflicts
- Only one application can use your camera at a time
- Close all apps that might be using the camera (Zoom, Teams, Skype, etc.)
- Check your system tray for background apps that might have camera access
- Restart your computer to release any stuck camera locks
5. Test in Safe Mode
- Boot Windows into Safe Mode to eliminate third-party software conflicts
- If the camera works in Safe Mode, a background application is causing the issue
- Disable startup programs one at a time to find the culprit
Still Not Working? If none of these steps fix the problem, your camera hardware may be defective. External webcams are cheap to replace, but built-in laptop cameras may need professional repair. You can also use your smartphone as a webcam via DroidCam or EpocCam as a stopgap.
Integrate Camera Checks Into Your Meeting Routine
The most reliable approach isn't memorizing steps -- it's building automation into your workflow. Here's a pre-meeting checklist that MeetReady handles for you:
- 5 minutes before: MeetReady notification appears
- 4 minutes before: Click notification to open camera preview
- 3 minutes before: Verify lighting, framing, and background
- 2 minutes before: Test microphone levels by speaking normally
- 1 minute before: Close distracting applications and browser tabs
- Right on time: Click the join button in MeetReady's notification
This approach keeps you prepared without the overhead of remembering to check everything yourself.
For more on meeting preparation, see our meeting management guide for Windows.
Choose the Right Camera Check Method
The Windows Camera app and video platform tests work, but they require manual effort before every meeting.
MeetReady removes that friction by showing your camera preview before calendar events. Instead of hoping you remember to check, you know you're covered.
If you have frequent video meetings, the five minutes you spend setting up MeetReady will save you time every day.
Download MeetReady free and get automatic camera checks before every call.